
Hossfeld Bender Instruction Manual: A Comprehensive Guide
Welcome! This manual, sourced from Machinery Support – the world’s largest archive – provides a step-by-step guide for your Hossfeld Model 2 Universal Bender․
It covers pipe, bar, and angle iron bending, ensuring compatibility with major brands․ Access repair parts for over 1,000 machinery producers!
The Hossfeld Bender, specifically the Model 2 Universal Bender, represents a robust and versatile solution for metal fabrication needs․ This instruction and parts manual, readily available through Machinery Support – boasting over 750,000 documents – serves as your comprehensive guide to operating and maintaining this essential piece of equipment․

Designed for bending pipe, bar stock, and angle iron, the Hossfeld Bender offers adaptability across various metalworking projects․ Understanding its capabilities and adhering to the outlined safety precautions are paramount for efficient and secure operation․ This manual isn’t just for Hossfeld branded machines; it’s designed to be compatible with a wide range of compatible products from major brands․
Proper utilization of this manual will empower you to maximize the bender’s potential, ensuring accurate bends and extending its lifespan․ Furthermore, access to readily available repair parts, covering 1,000 machinery producers, minimizes downtime and keeps your operations running smoothly․ This guide is your key to unlocking the full potential of your Hossfeld Bender․
Understanding the Model 2 Universal Bender
The Hossfeld Model 2 Universal Bender distinguishes itself through its adaptability, capable of handling pipe, bar stock, and angle iron with precision․ Sourced from extensive archives like Machinery Support, this model is designed for versatility in metal fabrication․ Its core strength lies in its ability to accommodate diverse materials and bending requirements․
Unlike specialized benders, the Model 2’s “universal” designation signifies its broader application range․ This is achieved through interchangeable dies and forming tools (detailed in the parts manual)․ Understanding the function of each component is crucial for achieving desired bending results․ Compatibility with major brands further enhances its value, offering a cost-effective solution for various workshops․
However, maximizing its potential requires a thorough grasp of its operational principles․ This manual provides a step-by-step approach, ensuring users can confidently tackle different bending tasks․ Access to readily available repair parts, covering a vast network of machinery producers, guarantees longevity and minimizes operational disruptions․
Safety Precautions and Guidelines
Prioritize safety! Operating the Hossfeld Model 2 Universal Bender demands strict adherence to safety guidelines․ Always wear appropriate personal protective equipment (PPE), including safety glasses, gloves, and sturdy footwear․ Ensure the work area is clear of obstructions and well-lit․
Before operation, thoroughly inspect the bender for any damaged or worn parts․ Never attempt to bend materials exceeding the bender’s capacity, as this could lead to equipment failure and potential injury․ Securely clamp the material before bending to prevent slippage and maintain control․
Be mindful of pinch points during operation․ Keep hands and body parts clear of moving components․ Disconnect power before performing any maintenance or repairs․ Refer to the comprehensive parts manual (available through Machinery Support) for proper component identification and replacement․ Ignoring these precautions can result in serious harm․
Essential Components and Parts Identification
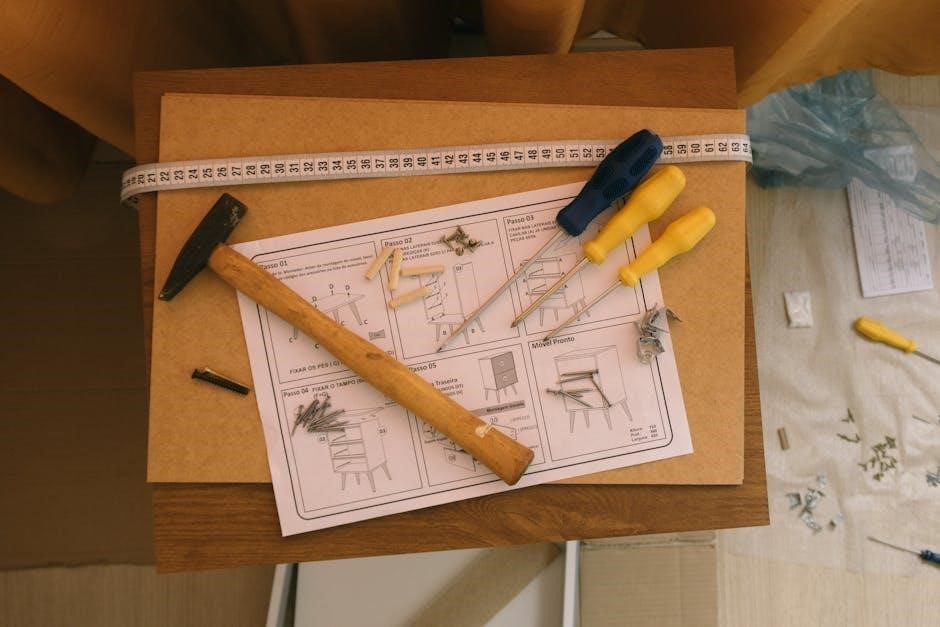
Familiarize yourself with the Hossfeld Bender’s key components․ The core structure includes the main frame, providing stability during operation․ Identify the bending pin, crucial for shaping the material, and the various dies – specifically designed for pipe, bar stock, and angle iron․
Locate the clamping mechanism, responsible for securely holding the workpiece․ Understand the function of the handle(s) or hydraulic system (depending on the model) used to apply bending force․ The base plate ensures a stable foundation, while the degree indicator assists in achieving precise bends;
Machinery Support offers detailed parts lists and diagrams within the instruction and parts manual․ Proper identification is vital for maintenance, repairs, and sourcing replacement components․ Knowing these parts ensures safe and efficient operation, preventing damage and maximizing the bender’s lifespan․ Refer to the manual for exploded views and part numbers․
Assembly Instructions: Step-by-Step
Begin by unpacking all components and verifying against the parts list found in your Hossfeld Bender Instruction Manual from Machinery Support․ Attach the base plate to the main frame using the provided bolts, ensuring a secure and level foundation․ Next, install the bending pin, confirming it’s properly seated and locked into position․
Select the appropriate die for your intended material (pipe, bar, or angle iron) and carefully insert it into the designated slot․ Secure the die with the retaining screws, tightening them firmly but avoiding over-tightening․ Attach any handles or levers, connecting them to the bending mechanism according to the diagram․

Double-check all connections and ensure all bolts are tightened․ Refer to the manual’s exploded views for visual guidance․ Proper assembly is crucial for safe and effective operation․ A correctly assembled bender minimizes risk and maximizes bending accuracy․
Operating Instructions: Bending Pipe
Before bending, select the correct pipe die within your Hossfeld Bender, as detailed in the instruction manual sourced from Machinery Support․ Ensure the pipe is clean and free of any obstructions․ Position the pipe firmly against the die and the return roller, securing it in place;
Begin applying pressure to the bending lever, utilizing a smooth and controlled motion․ Avoid jerky movements, which can cause deformation or kinks in the pipe․ Monitor the bending process closely, referencing the desired bend angle indicated in your plans․
For consistent bends, maintain a steady pressure throughout the entire bending arc․ Release the pressure slowly once the desired angle is achieved․ Repeat the process for subsequent bends, adjusting the pipe’s position as needed․ Always prioritize safety and refer to the manual for specific pipe size guidelines․
Operating Instructions: Bending Bar Stock
Preparing to bend bar stock with your Hossfeld Bender requires selecting the appropriate die, as outlined in the comprehensive instruction manual from Machinery Support․ Ensure the bar stock is free from rust, scale, or any surface imperfections that could hinder a clean bend․
Position the bar stock securely between the bending die and the supporting bolster․ Proper alignment is crucial to prevent twisting or uneven bending․ Begin applying pressure to the bending lever, maintaining a consistent and controlled force․
Monitor the bending process carefully, observing the deformation of the bar stock․ For thicker materials, multiple passes may be necessary to achieve the desired bend radius․ Avoid exceeding the bender’s capacity, as this could damage the machine or the material․ Always consult the manual for specific recommendations based on bar stock dimensions․
Operating Instructions: Bending Angle Iron
Bending angle iron with the Hossfeld Bender, as detailed in the instruction manual from Machinery Support, necessitates the correct die selection for the specific angle iron size․ Prior to bending, inspect the angle iron for any distortions or damage that might compromise the bend’s accuracy․
Securely position the angle iron within the designated bending area, ensuring it’s firmly supported against the bolster․ Initiate the bending process by applying steady pressure to the bending lever․ Monitor the angle iron’s deformation closely, making adjustments as needed to maintain the desired bend angle․

For substantial bends, incremental bending may be required, applying pressure in stages to avoid exceeding the bender’s capacity․ Refer to the manual for load limits and recommended practices․ Consistent pressure and proper alignment are key to achieving precise and repeatable bends․
Troubleshooting Common Issues
Difficulty obtaining a consistent bend often stems from improper die selection or insufficient lubrication, as highlighted in the Hossfeld Bender instruction manual from Machinery Support․ Ensure the correct dies are installed for the material and desired bend radius․

If encountering resistance during bending, verify the material isn’t exceeding the bender’s capacity․ Inspect the bending lever and pivot points for any obstructions or damage․ A common network issue, Event 4321, indicates a registration problem – potentially a DHCP conflict preventing proper IP address assignment․

For network-related problems affecting machinery support systems, confirm IP address configuration (static vs․ DHCP)․ If using a static IP, ensure it doesn’t conflict with other devices․ Regularly check network connectivity and printer registration via IP address, as detailed in supplementary guides․
Maintenance and Lubrication
Regular maintenance, as outlined in the Hossfeld Bender instruction manual from Machinery Support, is crucial for optimal performance and longevity․ Prioritize consistent lubrication of all moving parts – the bending lever, pivot points, and die alignment surfaces – to minimize friction and prevent wear․
Inspect dies frequently for damage or deformation, replacing them as needed․ Clean the bender after each use, removing any metal shavings or debris․ Address any signs of rust promptly with a suitable protective coating․
Network stability, while seemingly unrelated, impacts access to repair parts and support documentation․ Ensure your system’s IP address is correctly configured (DHCP or static) to avoid registration errors like Event 4321․ Proper network configuration facilitates printer access via IP address and automatic IP assignment, streamlining maintenance logistics;
Repair Parts and Sourcing
Maintaining your Hossfeld Bender relies on readily available repair parts․ Machinery Support, boasting over 750,000 documents, is a primary resource, offering parts for 1,000+ machinery producers․ When ordering, precise identification is key – refer to your instruction manual’s parts list․
Commonly replaced components include dies, bending levers, and pivot pins․ Ensure compatibility with your specific Model 2 Universal Bender․ Network connectivity can streamline this process; a stable IP address allows efficient online ordering and access to digital parts catalogs․
Troubleshooting network registration errors (like Event 4321) is vital if online sourcing is disrupted․ Consider DHCP vs․ static IP configurations․ If experiencing issues, verify your IP address and printer connections via IP address․ Automatic IP assignment can sometimes cause conflicts, so monitoring is advised․
IP Address and Network Configuration (Related to Machinery Support Systems)
Modern machinery support increasingly relies on network connectivity․ Your Hossfeld Bender, when integrated with support systems (like online parts ordering or remote diagnostics), requires a stable network configuration․ This often involves assigning an IP address to connected devices․
Understanding the difference between DHCP and static IP addresses is crucial․ DHCP automatically assigns addresses, while static requires manual configuration․ Allowing automatic assignment can sometimes lead to conflicts – one device potentially “stealing” an IP address needed by another, like a terminal․
If encountering network issues, particularly registration errors (Event 4321 indicates a naming conflict), verifying your IP address is the first step․ Knowing how to find your IP address (easily done via a web search) is essential for troubleshooting․ Proper configuration ensures seamless access to manuals and repair parts․
DHCP vs․ Static IP Address Configuration
Choosing between DHCP (Dynamic Host Configuration Protocol) and a static IP address impacts your Hossfeld Bender’s network reliability․ DHCP automatically assigns an IP address from a pool, simplifying setup and ideal for temporary connections․ However, this can be problematic if a critical device, like an EFTPOS terminal, relies on a consistent address and gets “overwritten”․
A static IP address, manually configured, remains constant․ This is preferable for machinery requiring predictable network access for remote support or consistent data transfer․ If your adapter currently has a static IP and you wish to switch to DHCP, a simple configuration change within your network settings is required․
Consider that a “preferred” address simply indicates the system’s desire to renew its current lease․ Ultimately, understanding these options ensures optimal network performance for your Hossfeld Bender and related support systems․
Resolving Network Registration Errors (Event 4321)
Encountering Event 4321 – “The name WORKGROUP :1d could not be registered” – indicates a problem with DHCP preventing your Hossfeld Bender’s interface from obtaining a standard IP address․ This often stems from a conflict or issue with the computer at IP address 192․168․0;1 denying registration․
Troubleshooting involves verifying DHCP server functionality on your network․ Ensure the server is active and has available IP addresses․ Check for duplicate IP addresses assigned to other devices, which can cause registration failures․ If the issue persists, investigate potential firewall restrictions blocking network name resolution․
Confirm the WORKGROUP name is correct and consistent across your network․ A misconfigured network environment can lead to these registration errors, hindering remote diagnostics and support for your Hossfeld Bender․ Addressing these points will restore proper network connectivity․
Adding Printers via IP Address
To integrate a printer with your Hossfeld Bender’s support system using its IP address, utilize the Add-Printer command․ This method is crucial when network discovery fails or for direct printer control․ Substitute “Brink-Desktop” with the actual computer name hosting the shared printer․
The command structure is: Add-Printer -ConnectionName IP Address Share Name․ Ensure the IP address and share name are accurately entered․ This bypasses traditional printer discovery, establishing a direct connection based on the printer’s network location․
This approach is particularly useful for specialized printing needs related to bending schedules or parts lists generated by the Hossfeld Bender․ Verify network connectivity to the printer’s IP address before executing the command․ Successful implementation allows seamless printing from the Bender’s associated software․
Automatic IP Address Assignment Considerations
Relying on automatic IP address assignment (DHCP) for your Hossfeld Bender’s support systems presents potential risks․ While convenient, DHCP can lead to IP address conflicts, where a device inadvertently “steals” a reserved IP, disrupting functionality – potentially affecting critical components like Wi-Fi cards or EFTPOS terminals․
If your system currently obtains an IP address automatically, monitor for intermittent connectivity issues․ The “preferred” address simply indicates a desire to renew the current lease, not a guaranteed static assignment․ A failure to obtain a normal IP address often signals a DHCP problem․

Consider static IP assignment for the Hossfeld Bender’s network interface to ensure consistent access and prevent disruptions․ This provides stability for software updates, remote diagnostics, and reliable printer connectivity․ Regularly review DHCP logs for potential conflicts․
Finding Your IP Address: A Quick Guide
Determining your computer’s IP address is crucial for troubleshooting network registration errors or adding printers connected to the Hossfeld Bender’s support systems; Several methods exist for quickly locating this information․
The simplest approach is to utilize a web browser․ Typing “What’s my IP address” into Google Chrome (or your preferred browser) will instantly display your public IP address․ However, for internal network configuration, you’ll need the private IP address․
Alternatively, access your network settings․ Right-click the Start button and select “Network Connections․” Locate your active network adapter and view its details․ The IP address will be listed there․ If the adapter currently uses a static IP and you wish to switch to DHCP, adjust the settings accordingly․
Remember, understanding your IP address is fundamental for maintaining a stable network connection for your Hossfeld Bender’s associated machinery support systems․